In this post we are going to see how to enable and configure NIC Teaming with the network cards of our team with Windows 10, NIC Teaming is to group the network interfaces of our machine to create high availability and load balancing at the network level in our system operating, with Windows Server we can do it through Server Manager, but in Windows 10 we have to do it through PowerShell.
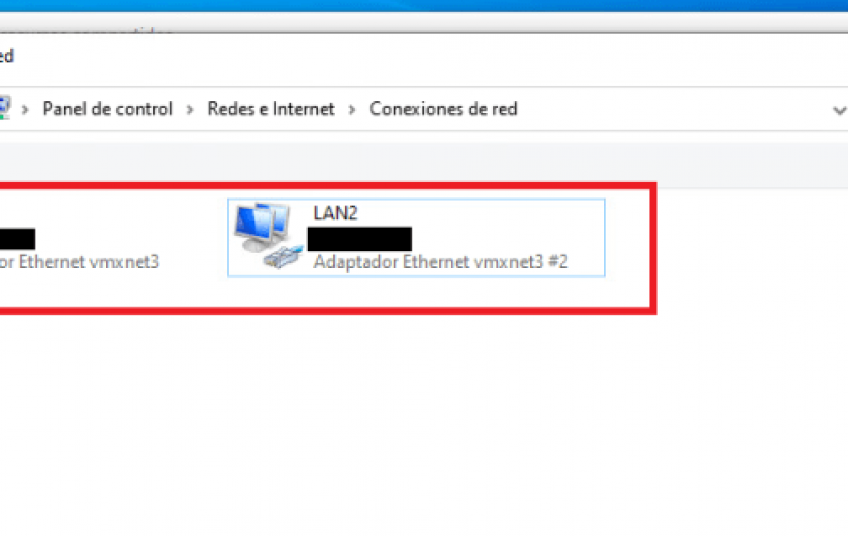
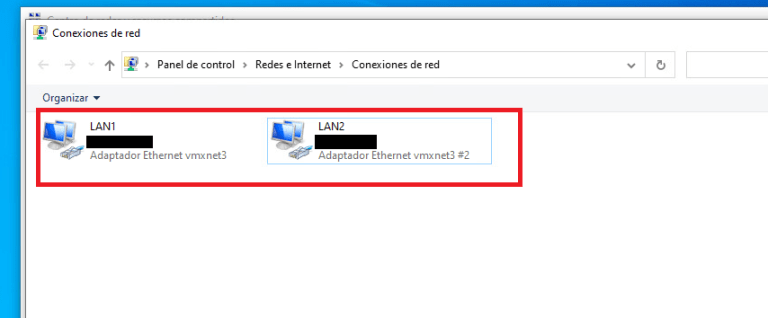
As we can see we have two network interfaces:
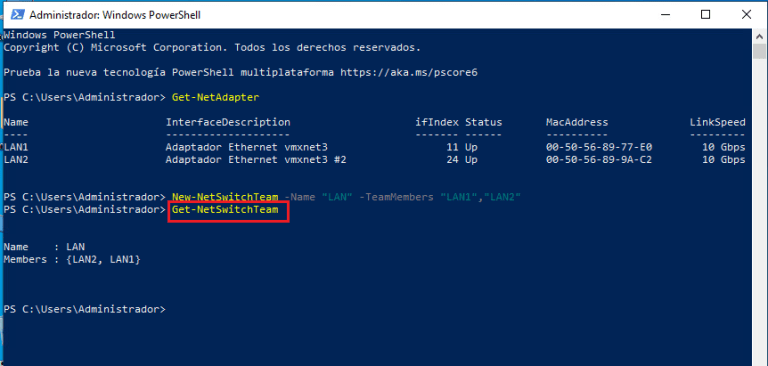
We open a PowerShell with Administrator permissions and execute the command Get-NetAdapter this command shows us the network interfaces that we have available:

To create the NIC Teaming we execute New-NetSwitchTeam -Name “LAN” -TeamMembers “LAN1”, ”LAN2”:

If we execute Get-NetSwitchTeam we can see that the NIC Teaming has already been done correctly:
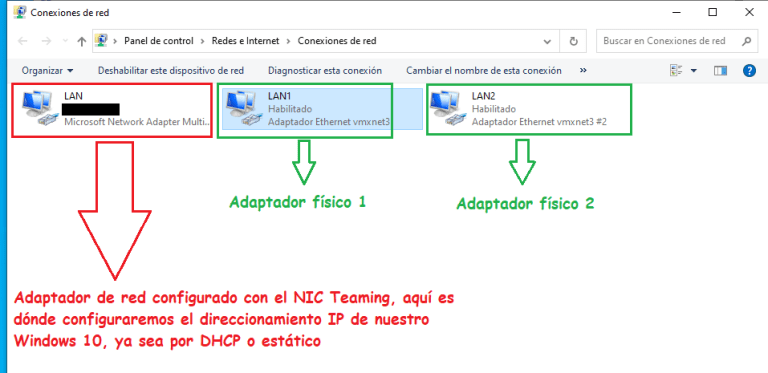
The connections of our Windows 10 would be like this:
Configuring Port Bonding in Windows
To configure port bonding (referred to as NIC teaming in Windows) in Windows Server 2012 R2, perform the following steps:
- View the existing network ports.

- Open Server Manager and click Local Server.
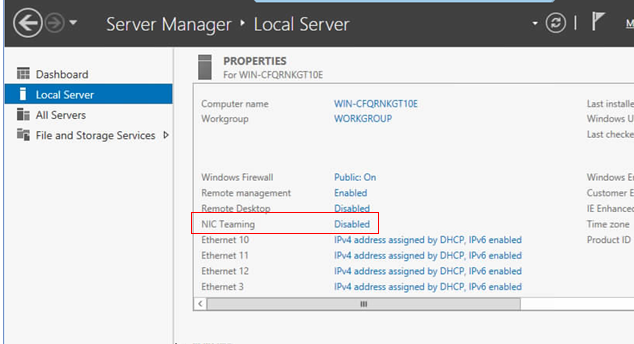
- Click Disabled next to NIC Teaming.
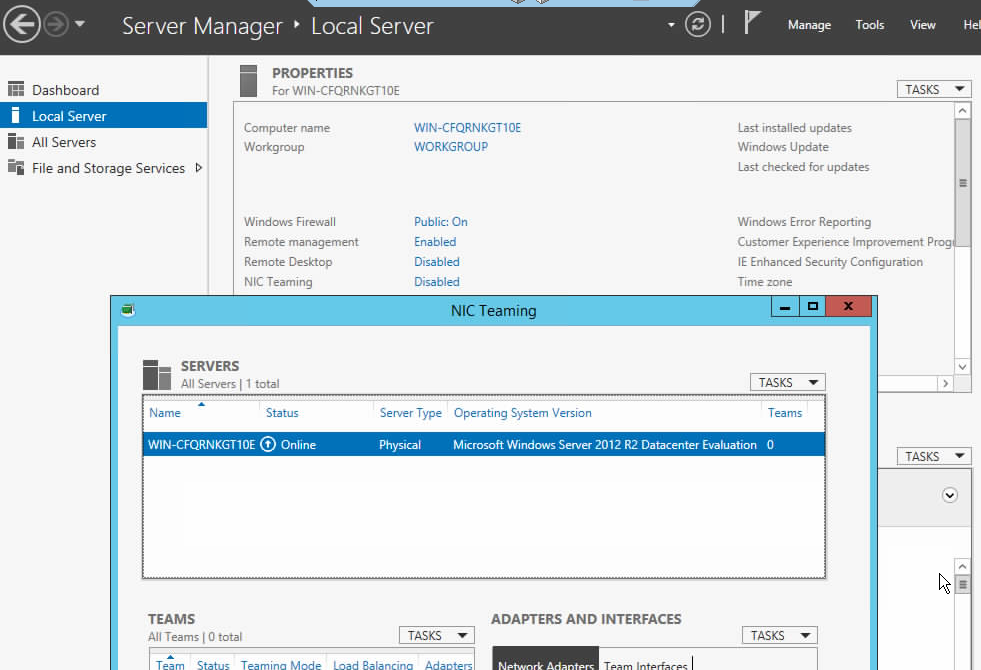
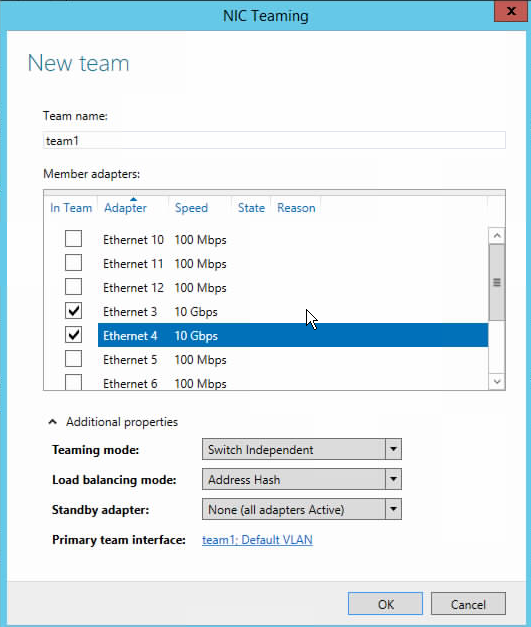
- In the NIC Teaming window, click TASKS in the TEAMS area and choose New Team from the drop-down list. Enter the NIC team name and select the ports to be bonded. Under Additional properties, set Teaming mode, Load balancing mode, and Standby adapter, and click OK.
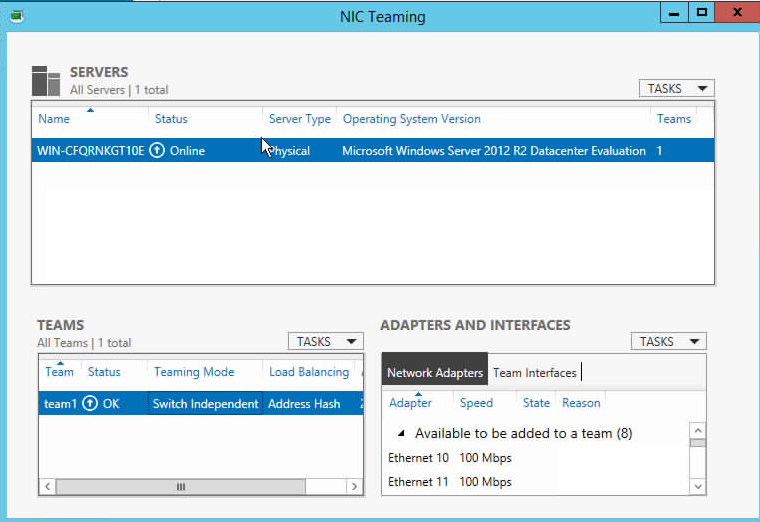
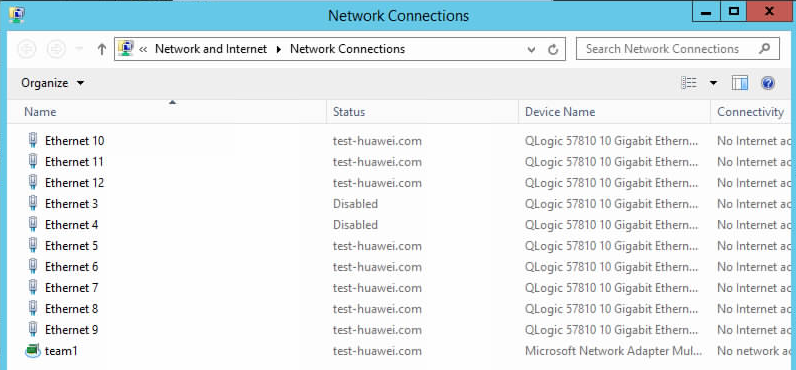
- In the NIC Teaming window and Network Connections window, check that the created team is displayed.
There are three teaming modes: switch independent, static teaming, and LACP. The switch independent mode is active-backup mode if Standby adapter is none or balancing mode if Standby adapter is specified. The static teaming and LCAP modes both comply with the IEEE 802.3ad specifications and require the peer device to have the same link aggregation configuration. In static teaming mode, link aggregation parameters are manually configured. In LACP mode, link aggregation parameters are automatically adjusted by the protocol.
Bonding members can be the MZ522 physical 10GE ports (NPAR is disabled) or PFs (NPAR is enabled), but port bonding cannot be configured among PFs of the same physical port. When NPAR is enabled, the bonding mode can only be active-backup or balancing, not 802.3ad or LACP. The active-backup or balancing modes support bonding of physical ports or NIC PFs across chips. The 802.3ad and LACP modes support only bonding of physical ports of the same chip.
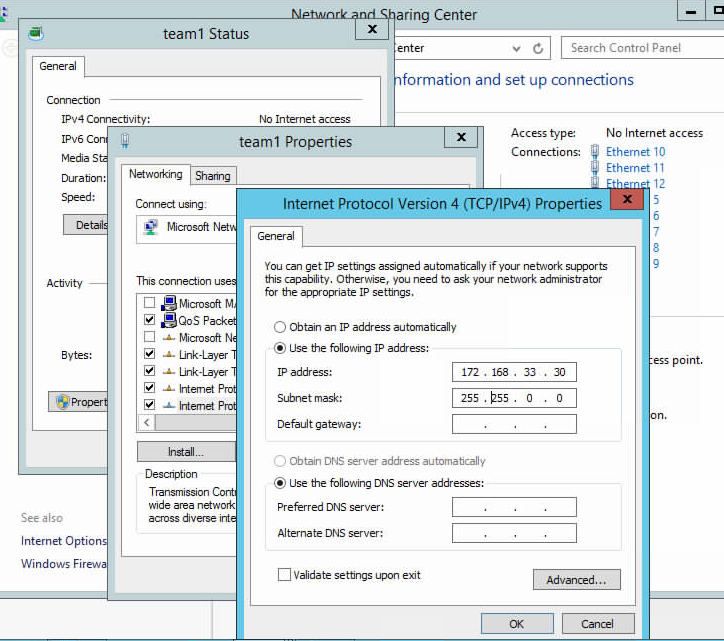
- Open Network and Sharing Center, open the created team, and set the IP address of the team.
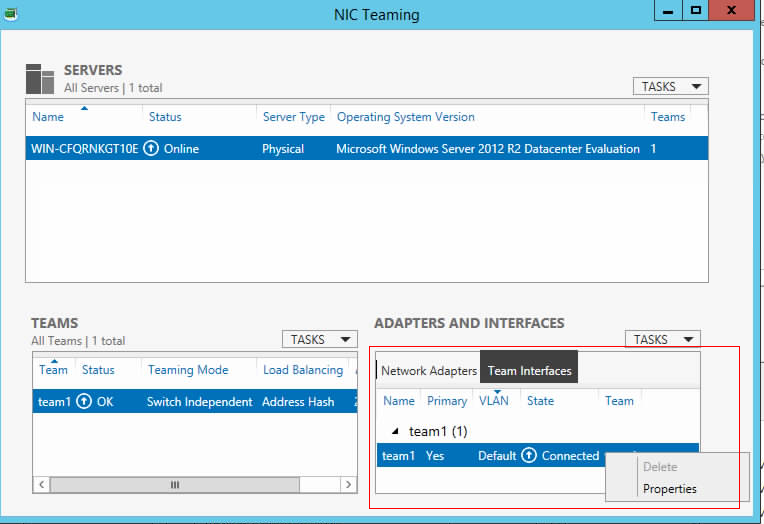
- You can also configure the IP address to belong to another VLAN as follows: In the Team Interfaces tab page in the NIC Teaming window, right-click the team and choose Properties. In the displayed window, enter a VLAN ID in Specific VLAN, click Apply, and click OK.
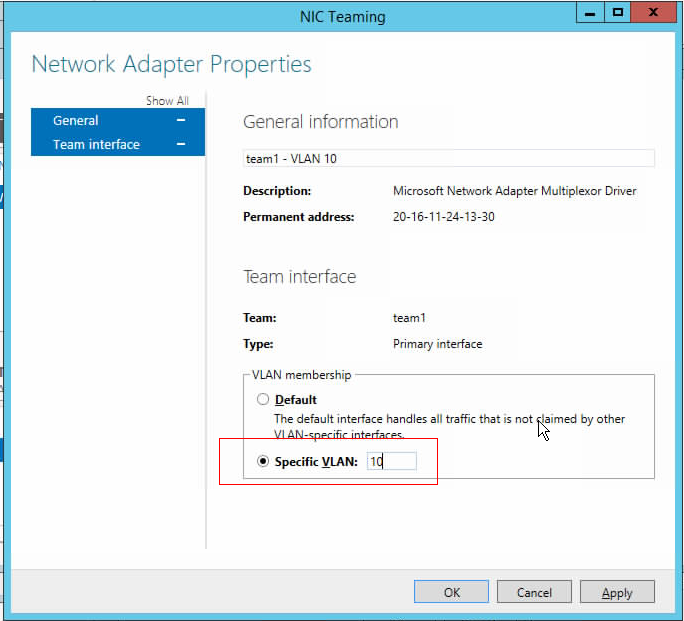
After creating a VLAN, the native VLAN is no longer used. You can view the NIC icon of the new VLAN after choosing Control Panel > Network and Internet > Network Connections, enable the VLAN, and set an IP address.


