Currently anyone who buys a new computer does so with an SSD hard drive. These units offer us great performance and have great features, such as high resistance. But, there is one thing that you surely do not know about SSDs and that is the importance of the TRIM command and its fundamental role in these storage units.
SSDs have conquered us for their high read and write speeds, which reduce loading times. But they have more advantages, they are more resistant and consume less than HDD hard drives. Hence, today neither the PS5 nor the Xbox Series X already have HDD units and are based on SSDs.
What is TRIM?
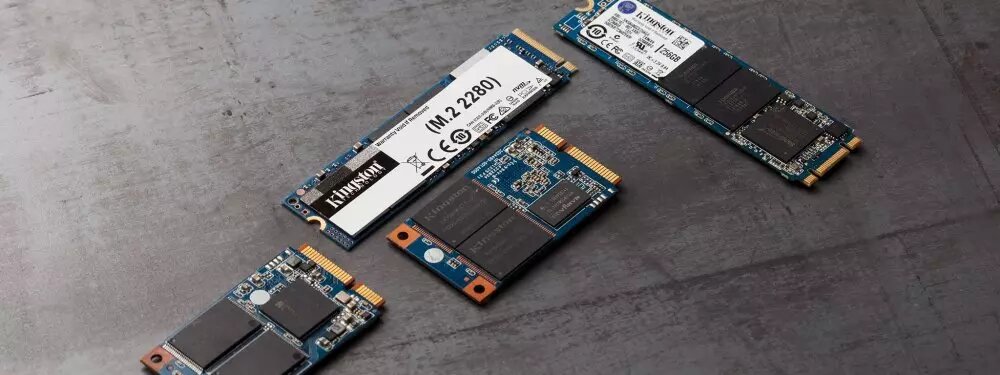
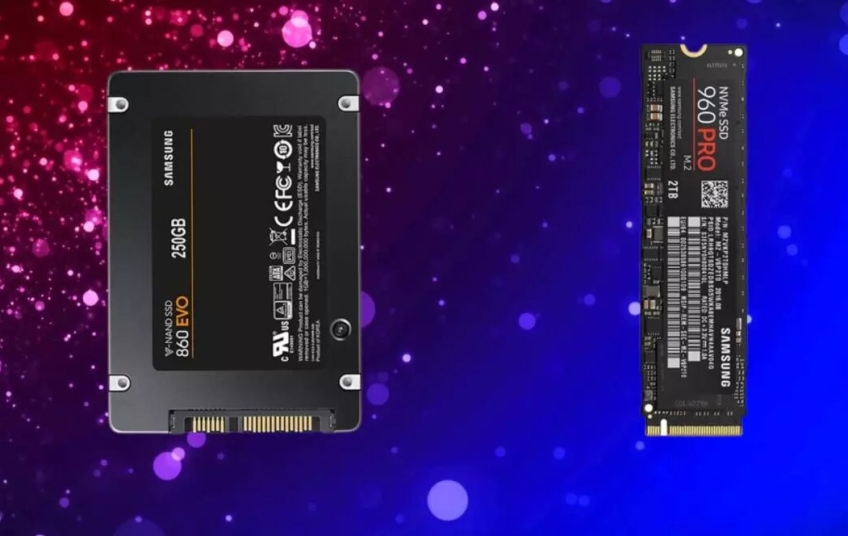
It is a specific command for SSD hard drives in its different versions. While it was introduced with the SATA interface, it is also available on M.2 NVMe PCIe drives.
What the TRIM command does is tell the SSD how much data can be safely erased. Simply, what it does is clean the storage unit of garbage. It deletes all unnecessary data or remains of useless information.
Windows makes active use of this command as it temporarily stores information on the SSD. But, there are operating systems that do not support TRIM, so it may be the case that in some units it is not activated natively.
What is TRIM for?
It simply manages the areas of the SSD that contain data that is no longer used or will not be used again. The user is not aware of this process, since it is done in the background. TRIM does not delete user information under any circumstances, it deletes data that Windows has told it is no longer needed and has been used for certain tasks or processes. An example might be the loading data of a game screen.
TRIM tells the SSD what data can be removed, a process that occurs when the computer is at rest. If this command did not exist, our SSD would not know which sectors contain invalid information or that is no longer useful. You should wait for Windows to tell you to write to that sector.
It is not a major problem, for practical purposes, but it affects performance. Existing stored information must first be erased, and then the data must be written. We are talking about a small period of time, but that supposes a loss of benefits. By doing it in the background when there is no activity, you gain performance.
Also, the TRIM command affects the lifespan of SSD hard drives. Writing and deleting data in the same sectors or cells of the SSD's memories cause integrity to be lost. Thanks to this command, the use of the cells is optimized, distributing the load among all the cells to avoid excessive degradation of one of them. This process is called wear leveling.

Check that TRIM is activated in Windows
To verify that the TRIM command is activated and supported by Windows 10 or 11, we must follow these steps:
-
Go to Windows search (the magnifying glass icon, next to the start menu button)
-
We write the command «cmd«
-
The CMD will appear and we will click with the right mouse button, selecting «Run as administrator«
-
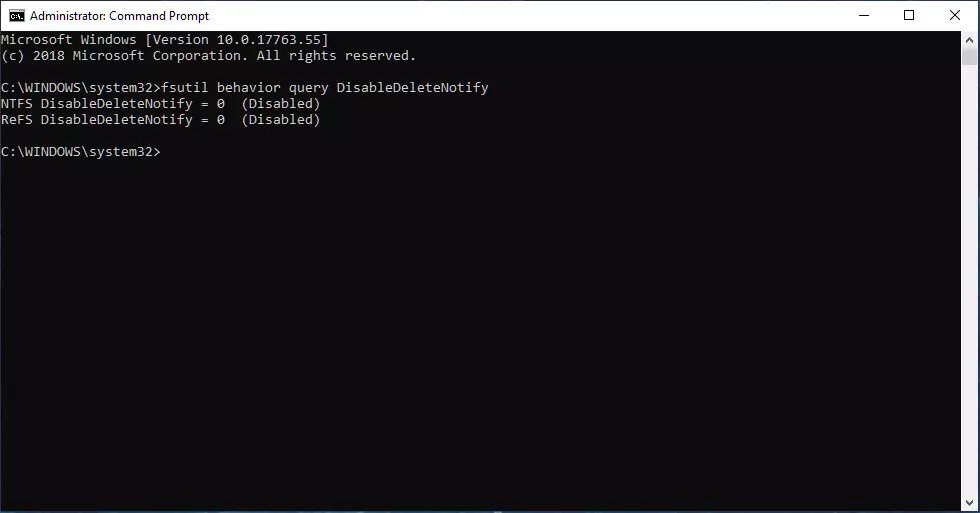
In the screen that will open, we will write the command: fsutil behavior query DisableDeleteNotify
-
Now we press the Enter of our keyboard (we will not close the window yet)
The screen that should appear is like the one you are seeing in the image below these lines. If the result is "0", it means that TRIM is correctly activated on your computer. Now we can close the window without problems.

If the result were "1", it tells us that TRIM is off. To activate it, as we still have the CMD open, we only have to enter this command:
-
fsutil behavior set DisableDeleteNotify 0
-
Now press Enter and we can close the CMD
How to optimize SSD performance in Windows 10?
Having the TRIM command activated will help you a lot to recover the performance of your SSD in Windows 10. The fact is that this type of command should be executed automatically at least once a week. To know if TRIM is running on your computer, you must follow these steps:
-
We open the file explorer or any folder
-
On the right side the option This computer should appear
-
In Devices and drives, our main hard drive should appear with the name Local Disk (C:). It may have another name on your computer, but the drive letter should still be C:, which is the one that Windows gives by default
-
We right click on the unit
-
Click on Properties
-
Let's go now to the Tools tab
-
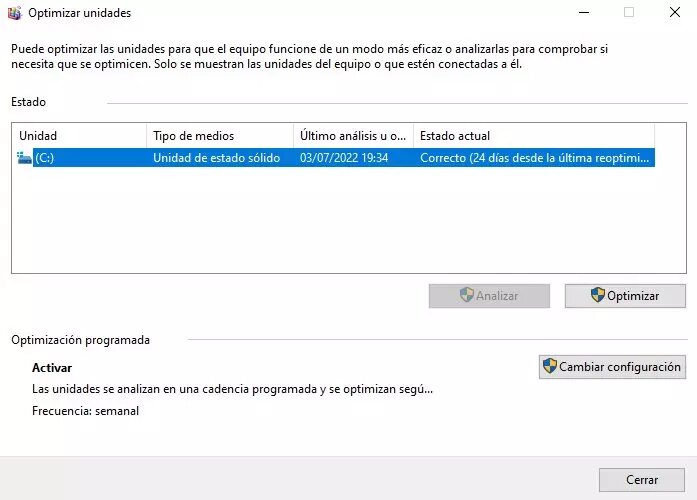
Now we must click on the Optimize option
-
In Current status two options will appear:
-
Requires optimization: It tells us that TRIM is not active and this means that we must optimize it manually. We select the unit and click Optimize. This process is very fast, lasting a few seconds. After this, go back earlier in this tutorial and activate the TRIM command as we explained
-
Correct: In this case we do not have to do anything, since TRIM is activated it optimizes the unit periodically. We can manually optimize it at this point, but it's unnecessary
-
-
We close all the windows and that's it


