")
")

In Linux-based operating systems, the quintessential firewall you use is iptables, however, it is also possible that you use nftables, which is the evolution of iptables much more efficient and with a much more "human" syntax, however, not all the world still uses nftables. Today we are going to explain how to configure a firewall on Linux servers using Ferm (For Easy Rule Making), an iptables frontend that will allow us to add rules to the firewall very easily, quickly and simply, without having to learn the syntax of iptables.
What is the Ferm firewall and what is it for?
Ferm (For Easy Rule Making) is a frontend of iptables, this means that, underneath, it is actually using iptables to allow or deny traffic, but it allows us to configure the firewall in a very advanced way without having to learn the syntax of iptables or make different scripts using iptables, but we will do it directly with Ferm. This tool is capable of reading the rules from a configuration file that we are going to define, and later it will "call" iptables to add the different rules one by one, inserting them in real time into the kernel.
Ferm's goal is to provide system and network administrators with an easy way to read and write all firewall rules, reducing the task of having to write one rule after another, so we can spend more time developing and optimizing the rules, to make them as efficient as possible. Ferm uses a very simple but quite advanced configuration language, we can use variables, functions, arrays and even blocks. Other very interesting options of Ferm is that it will allow us to include other configuration files in a directory, and it will take care of importing and applying all these rules automatically.
Ferm is still an iptables frontend, therefore, when we use this tool, we will always be able to directly edit and configure the firewall using the iptables commands. In fact, Ferm is able to import the current iptables rules and automatically put them in the configuration file, to later edit or expand them.
One of the most popular iptables frontend is ufw, widely used by system and network administrators to quickly and easily configure their firewalls.
Installation and commissioning of Ferm
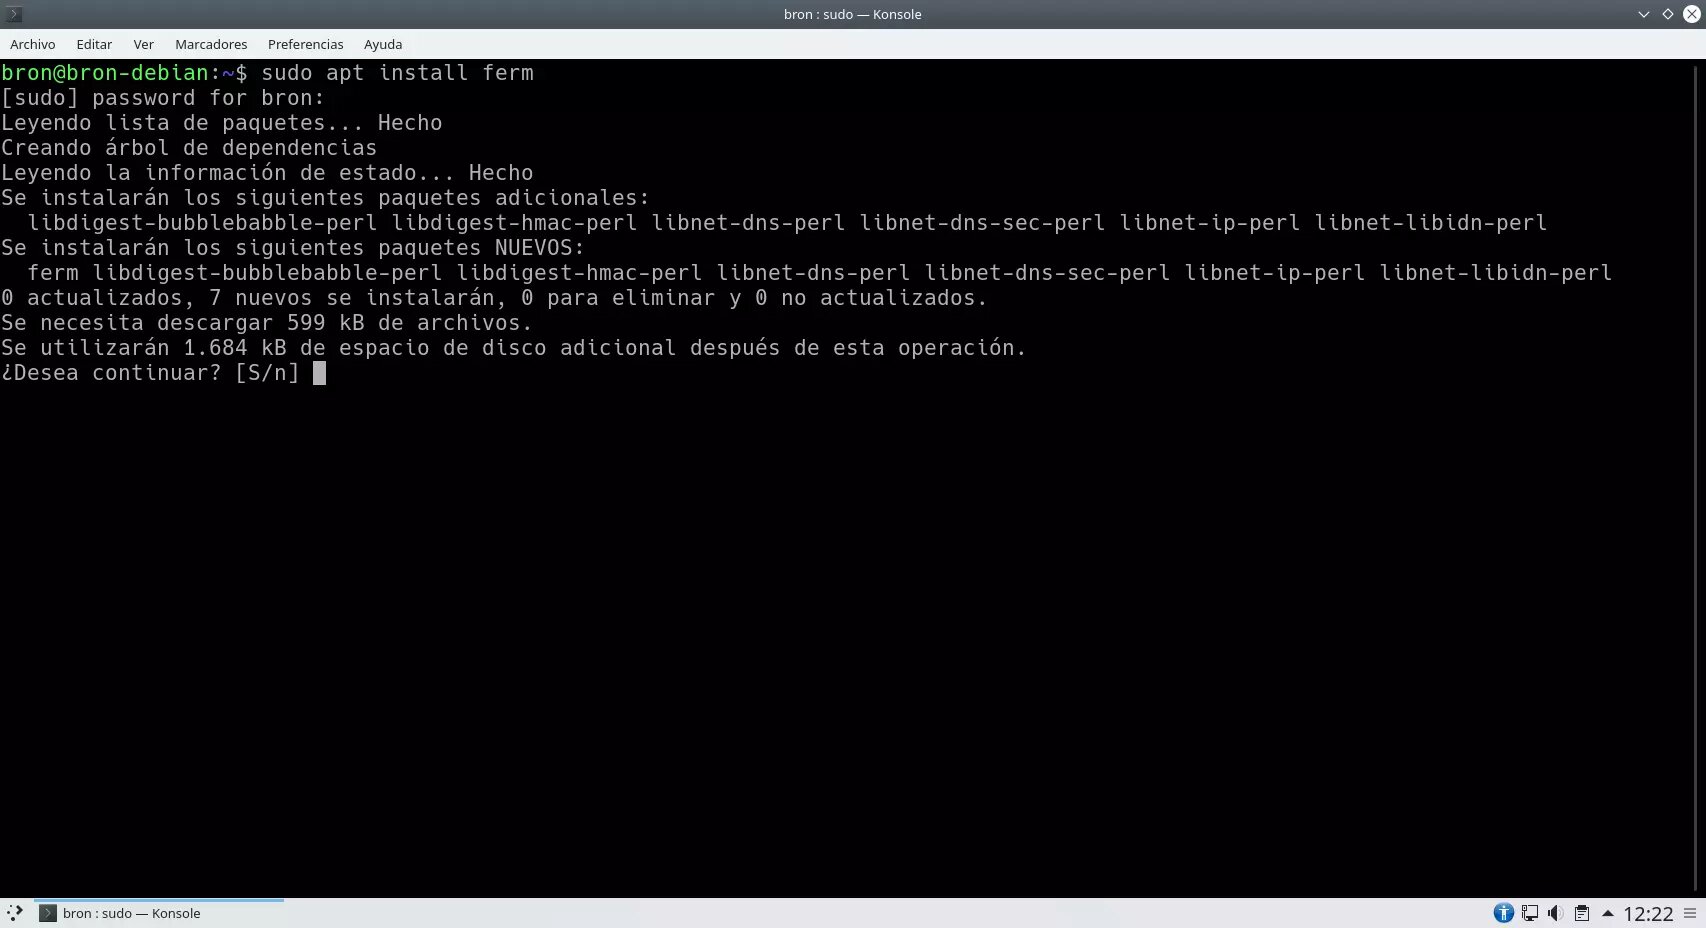
Ferm installation is really simple, it is currently in most repositories of the different Linux-based distributions, in our case we have used the latest version of Debian to perform all the tests that we are going to teach you. To install this program, which is an iptables frontend, we must execute the following command:
sudo apt install fermOnce we execute this command, we should see something like this, where it will show us the additional packages that we have to install, basically we have to install Perl to be able to run this program correctly.
The Ferm installer will tell us that it will load the firewall rules during startup from the /etc/ferm/ferm.conf path, that is, everything in this file will automatically be passed to iptables to allow or deny traffic network. The default configuration of this firewall allows us to have access by SSH remotely through port 22, if you do not have SSH configured on this port, then you will have to edit the default values and click on "no" so that it does not start, otherwise, you will lose connectivity.
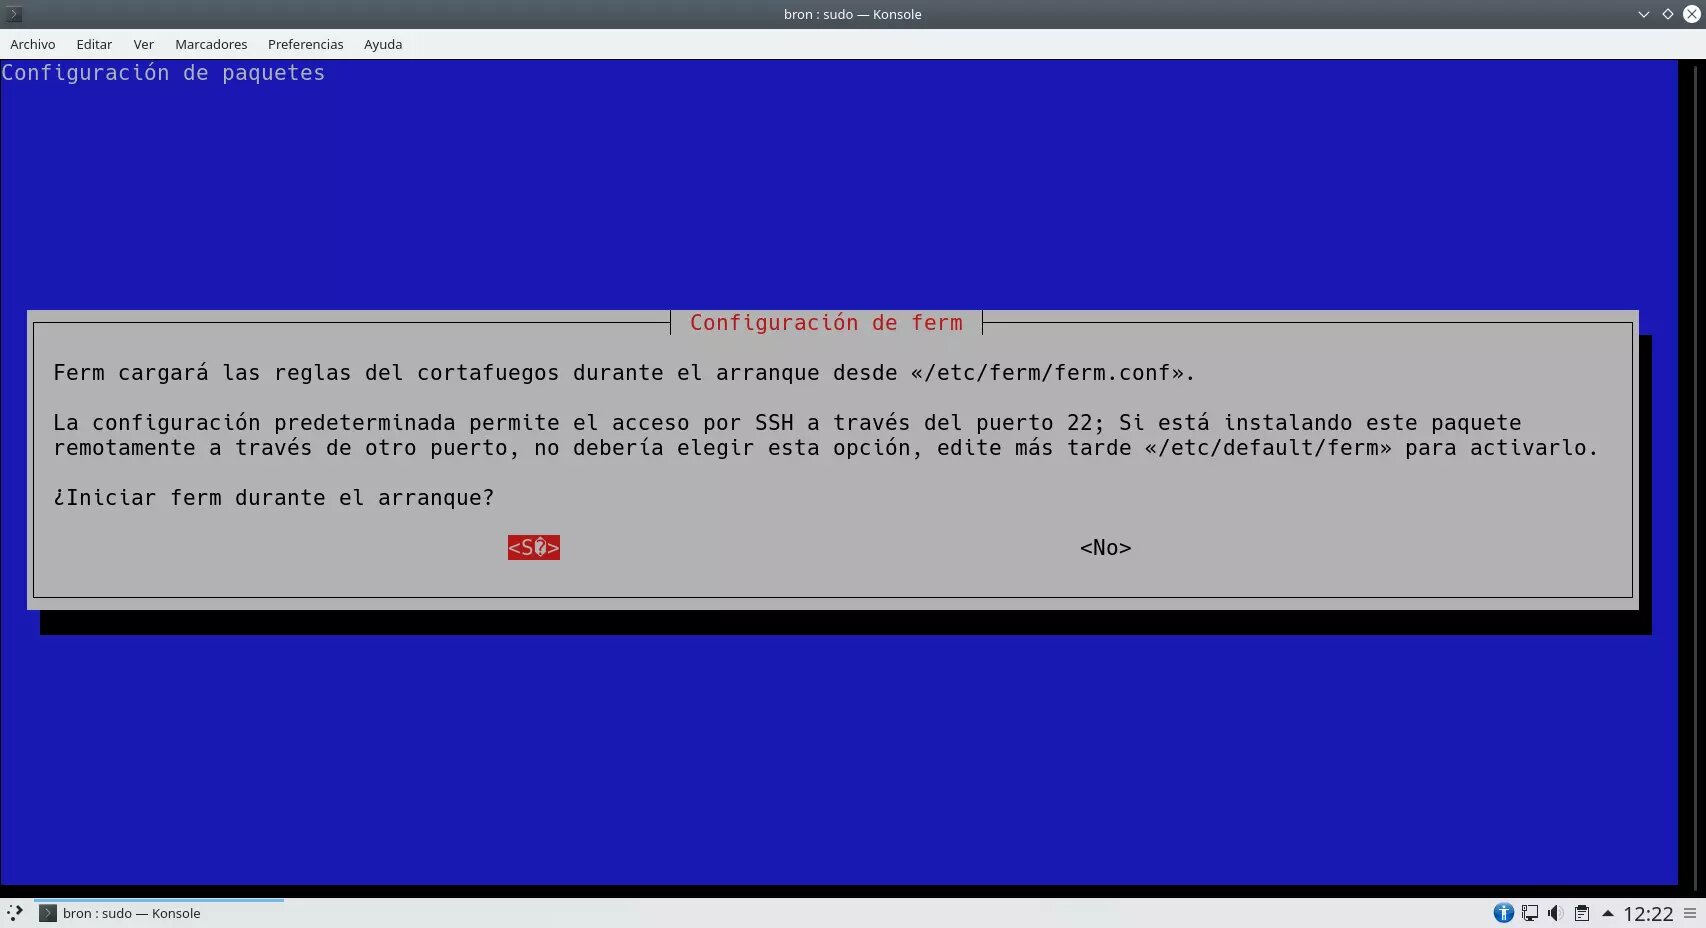
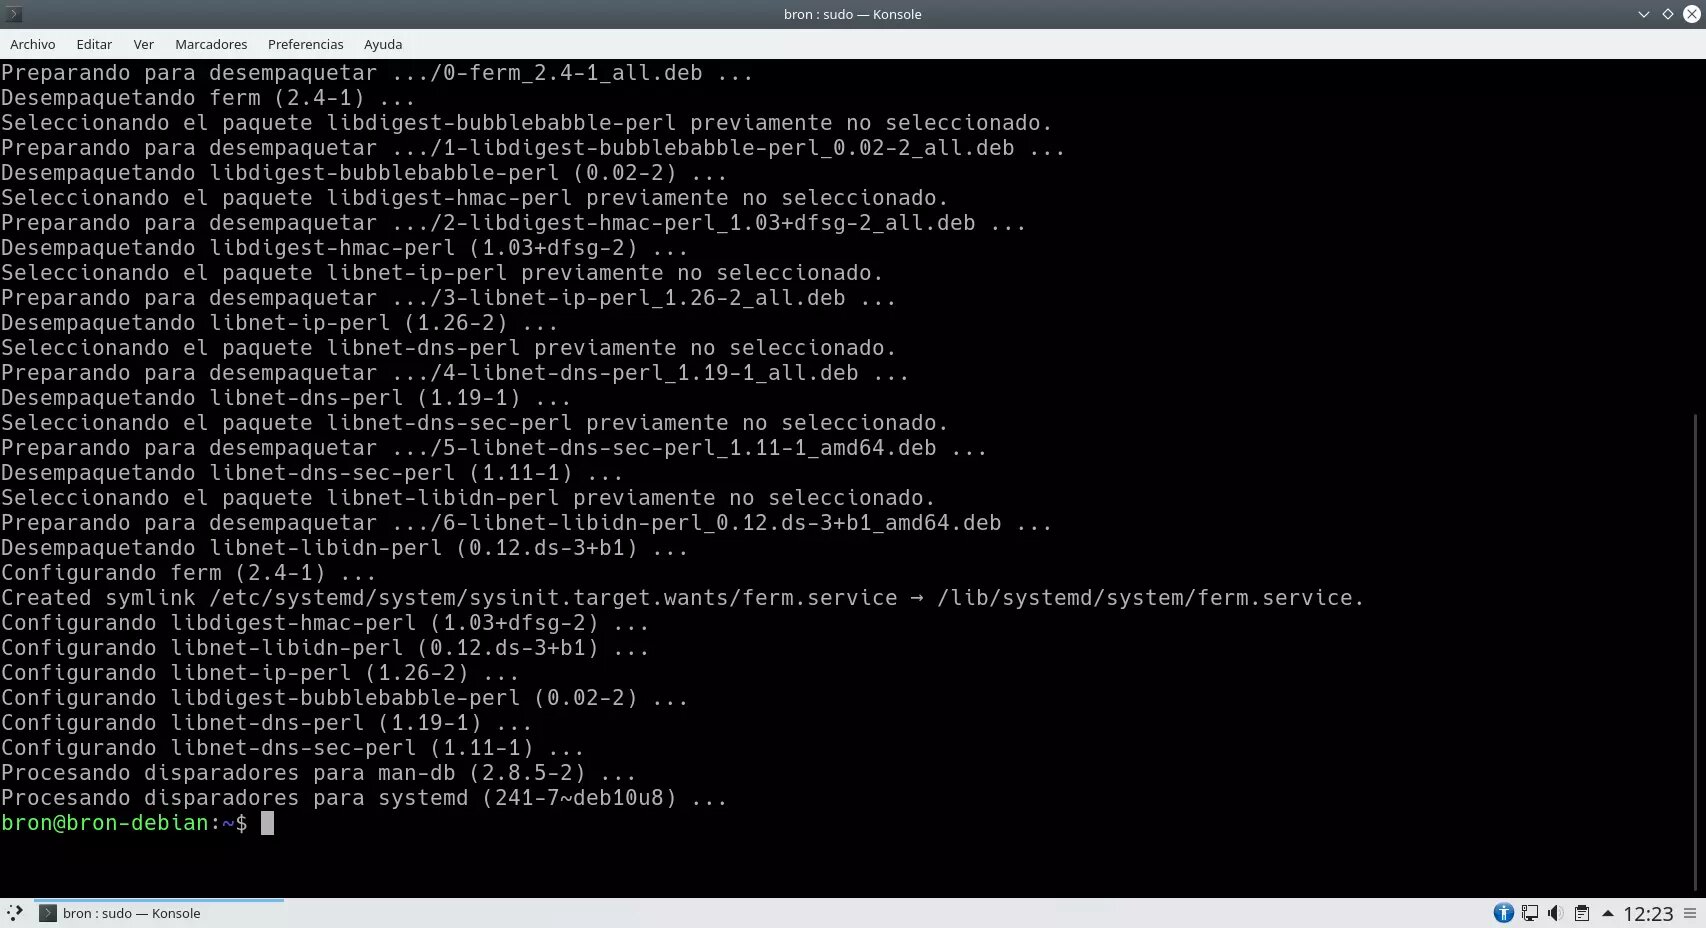
Once we have chosen yes or no, apt will finish installing all the additional packages that we need to make this program work.
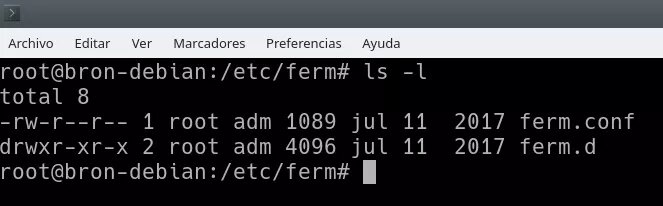
Once installed, we can go to the /etc/ferm/path and we will see both the configuration file called ferm.conf, as well as a directory called ferm.d where we can incorporate our ferm configuration files to import them, this allows us have greater modularity.
Ferm already comes by default with a list of rules that we can remove at any time, but this will help us deal with the syntax of this iptables frontend, therefore, it will be quite helpful. If we look at the syntax, we will see that it is similar to nftables, but it is based on iptables.
In the following screenshot you can see how the domains where it is going to be configured (iptables or ip6tables), the tables and the chains, as well as the rules that we have within the different chains are declared.

We can also see that we have several rules by default:
-
In the INPUT chain, the policy is DROP, localhost traffic is allowed, ICMP traffic is allowed, and the connection is allowed via IPsec and also via SSH with the default ports. Regarding the status of the connections, invalid connections are DROPED, and the established and related ones are allowed, but the new ones are not allowed, except those specifically defined.
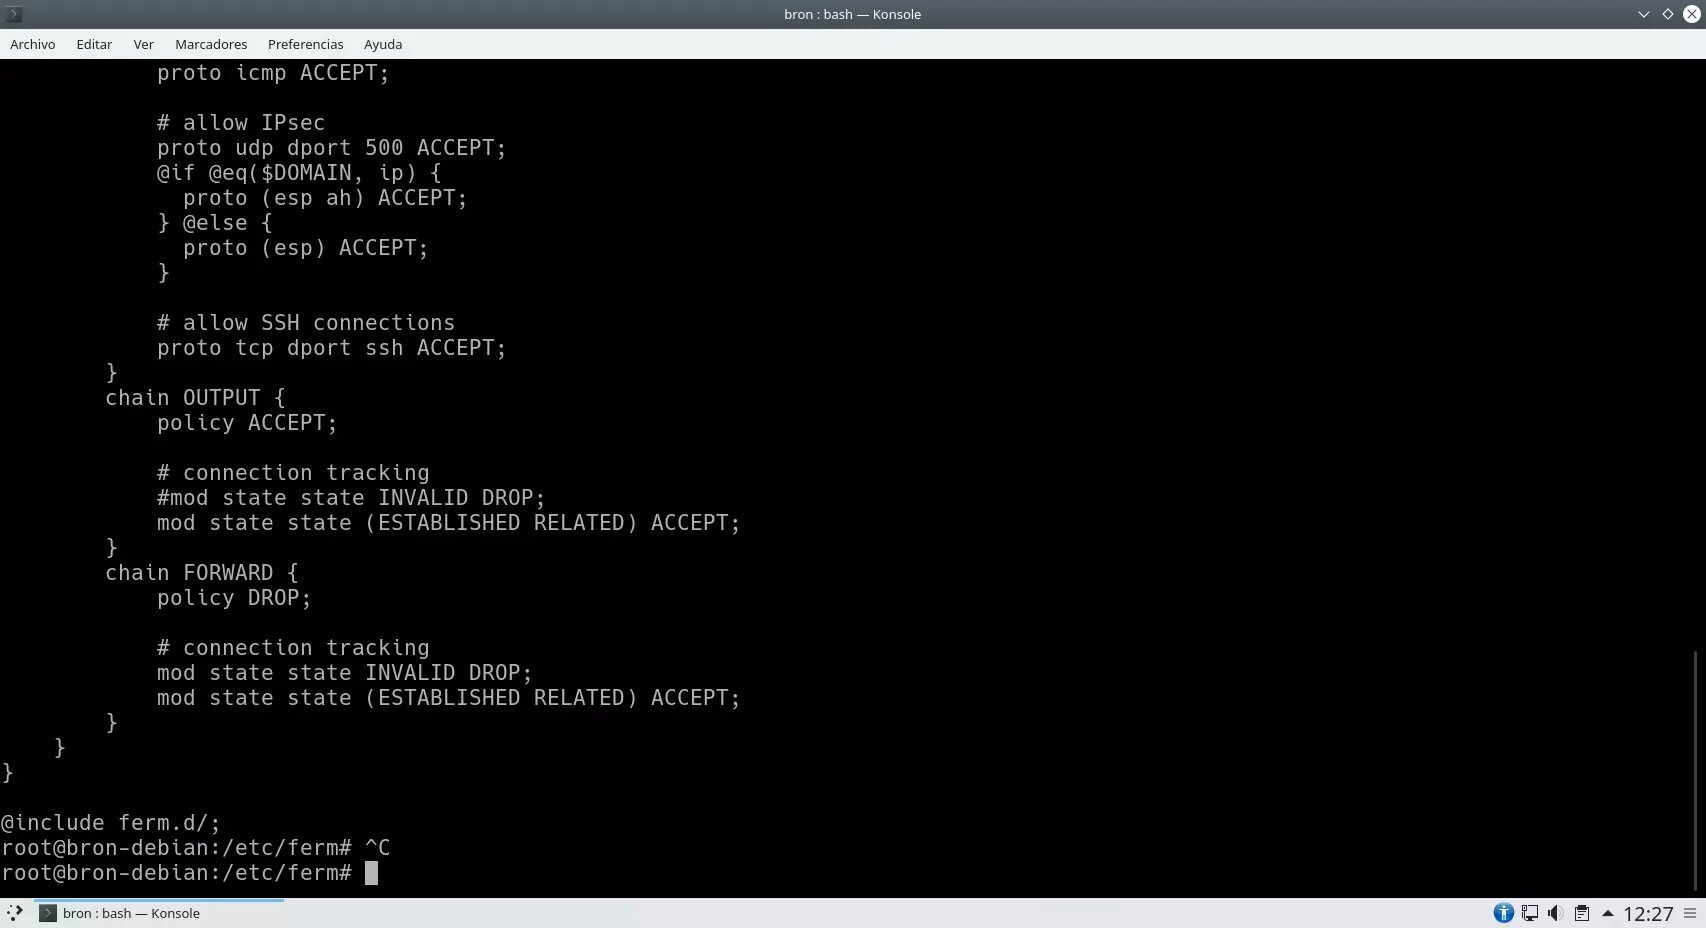
In the OUTPUT chain it is defined that the policy is to accept everything, and the state of the connection is allowed those established and related. In the FORWARD chain, traffic is denied by policy, invalid connections are specifically blocked but established and related connections are allowed.
Next, you can see this configuration file in text format:
# -*- shell-script -*-
#
# Configuration file for ferm(1).
#
domain (ip ip6) {
table filter {
chain INPUT {
policy DROP;
@include ferm.d/;The most interesting part is the "@include ferm.d/" that we have in the final part, this means that it will import all the configuration files that we have in that directory in question.
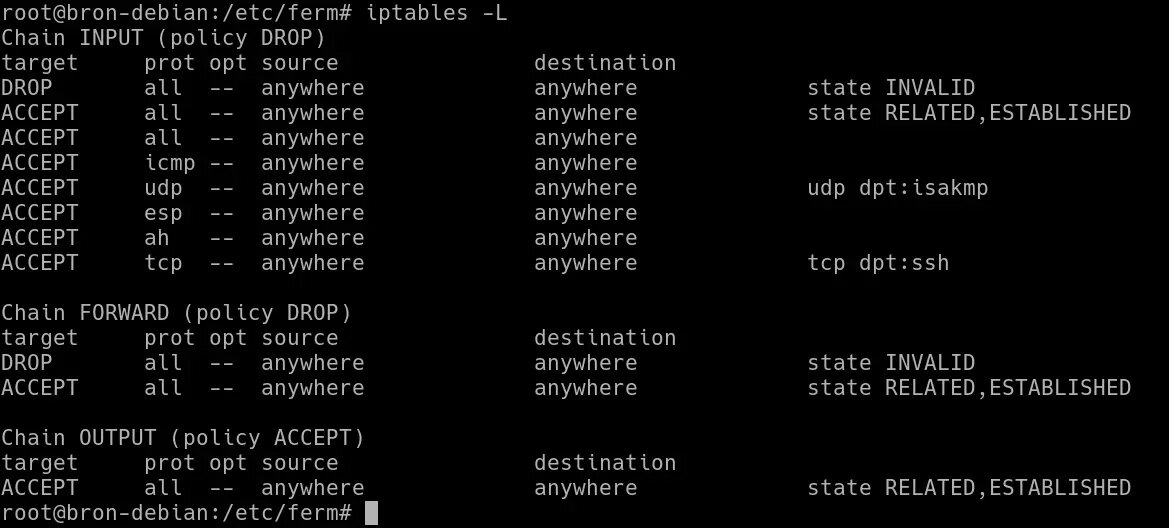
This Ferm firewall below uses iptables, therefore, if we execute the following command:
iptables -LWe can see the current state of iptables with all the rules that it has incorporated into the firewall:
Once we have seen the default Ferm configuration, we are going to see different configuration examples that we can do.
Ferm Basic Configuration
Ferm's syntax is very simple and flexible, but we must learn it to make a correct configuration. We recommend that you access the official Ferm manual where you will find all the details about the syntax to use and how the different rules should be declared in the configuration file, thanks to this official manual we can configure this firewall without many problems.
The first thing to keep in mind is that all Ferm rules begin and end with braces, and the rules end with a semicolon, therefore, it is a well-known syntax in programming. Other interesting features are that line breaks are ignored, and you can put comments anywhere by putting "#" to the end of the line.
Regarding the syntax of iptables and ferm, we have some differences:
-
To define input interface: interface (if)
-
To define exit interface: outerface (of)
-
To define an origin: saddr
-
To define a destination: daddr
-
To define a protocol: proto
-
Port of origin: sport
-
Destination port: dport
-
Load a module: mod
-
Jump to a custom rule: jump
In Ferm there are no commands like -A, -I, -C, -R or -D, since everything is written in a configuration file, the same happens with the commands to add a new string, rename it or delete it, now here disappears completely. Other features are that ferm allows you to inherit different rules to be used within other rules, nesting in the configuration file.
Once we know roughly how the syntax is, we are going to see some examples comparing it with iptables, in all of them we will work on the «filter» table in the «INPUT» chain.
iptables -P INPUT ACCEPT
iptables -A INPUT -p tcp -j ACCEPT
In ferm this would be written as follows (adding the policy of the OUTPUT and FORWARD chain from the filter table):
domain ip {
table filter {
chain INPUT {
policy DROP;
proto tcp ACCEPT;
}
chain OUTPUT {
policy ACCEPT;
}
chain FORWARD {
policy DROP;
}
}
}
Ferm allows us to define the same rules in the INPUT and OUTPUT easily and quickly, without the need to repeat the rules over and over again. For example, let's imagine that now we want to accept the TCP protocol both in the INPUT chain and in OUTPUT, this in iptables would be as follows:
iptables -A INPUT -p tcp -j ACCEPT
iptables -A OUTPUT -p tcp -j ACCEPT
iptables -A INPUT -p udp -j ACCEPT
iptables -A OUTPUT -p udp -j ACCEPT
With Ferm it is as simple as doing the following:
domain ip {
table filter {
chain (INPUT OUTPUT) {
proto (udp tcp) ACCEPT;
}
}
As you can see, it is much faster and easier to apply this same rule to both the INPUT and the OUTPUT.
This firewall also incorporates very interesting functions, for example, we can check if a variable or function is defined, we can check if two values are the same or different, deny a Boolean value, resolve domains directly from Ferm, concatenate parameters and a long list of functions.
Ferm also allows you to "load" the iptables modules to use them, and configure the firewall in an advanced way, for example, we have the following:
mod connlimit connlimit-above 4 connlimit-mask 24 REJECT;That we can put throughout the configuration file.
To apply the rules introduced in Ferm, we will have to execute the following command:
ferm -i -t 10 /etc/ferm/ferm.confImport iptables rules into Ferm
Ferm allows us to easily and quickly import the iptables rules that we currently have in execution, in a Ferm file for later modification. In order to do this, we will simply have to have the iptables rules loaded in memory (currently in use) and execute this command:
import-ferm > /etc/ferm/ferm.d/reglas-iptables.confWhen we run it, we can see the iptables rules directly in Ferm's syntax.
If you want to transform the iptables rules that you have in a text file to Ferm, you can execute the following command:
import-ferm origen de las reglas de iptables > /etc/ferm/ferm.d/reglas-iptables.conf